

A recent nail trend has been taking the fashion world by storm, shattered glass effect nails. Created by the talented Park Sun Kyung, her stunning design has been gracing Seoul Fashion Week and is working it’s way across the world after the beautiful manicure went viral and has since been seen all over the Internet. Park explains that her designs are “simple and minimalist” but uniquely designed; and today I’ll be bringing you a quick tutorial to show you how you can create them yourself! Plus, with Halloween just around the corner these will complete any costume and add a high fashion edge.
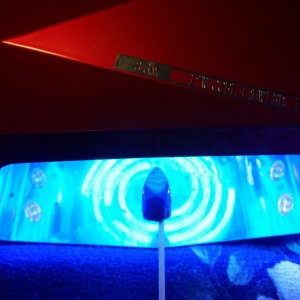
For the design I will be working with gel polishes, as I can place and move the glass effect pieces easily and then cure them in place with my UV lamp when I’m happy with the layout, but you can also do this with regular varnishes it’d just need a steady had to not move the pieces too much. Just be sure to let each layer dry thoroughly before continuing! At the end of the tutorial, a full product list and links where you can buy each product is available.
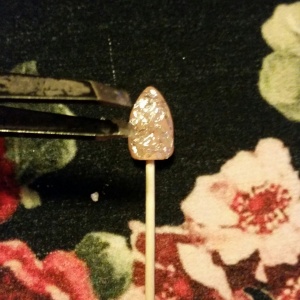
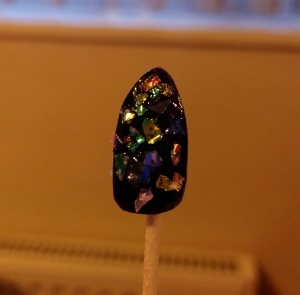
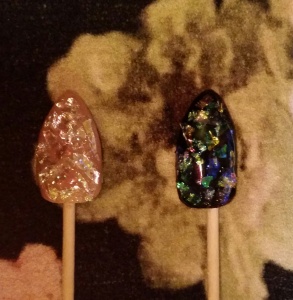
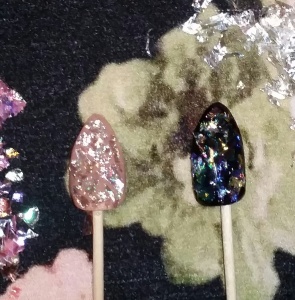
- Step 1: After you’re happy with your nail shape, apply a base and colour. For this I’m going with a pure black gel in shade, this gives extreme depth with the glass finish and picks up the colours. I’ll also be using a nude on another nail to show how it looks with different base colours. Going for a deep colour will give the bold effect when the ‘glass’ is applied.
- Step 2: After 2 coats of colour, and curing them I am now applying a thin layer of clear gel and taking the glass effect product. For the black, I use an iridescent pink toned piece. This picked up various colours and looked like an oil slick on. And for the nude nail, I applied a white tone glass effect. I’ll place the pieces on with tweezers before curing and get the effect I want. Once you’re happy with your design cure the gel! (Or alternatively, wait for the nail varnish to dry. Depending on what product you’re using.
- Step 3: After curing the clear gel, I’ll apply another thin layer of clear gel and apply some more pieces to give it a 3D layer effect. Once I’m happy with the placement again, I’ll cure it in my UV lamp for the allocated time.
- Step 4: Now your glass effect is complete, apply a gel topcoat or clear nail varnish (depending on your product choice) and cure in the UV lamp once again.
- Step 5: Taking a gel finishing wipe, give the nail a wipe over if you’ve used a gel polish to remove the sticky residue and apply a varnish topcoat to give it an extra shine and they’re complete!


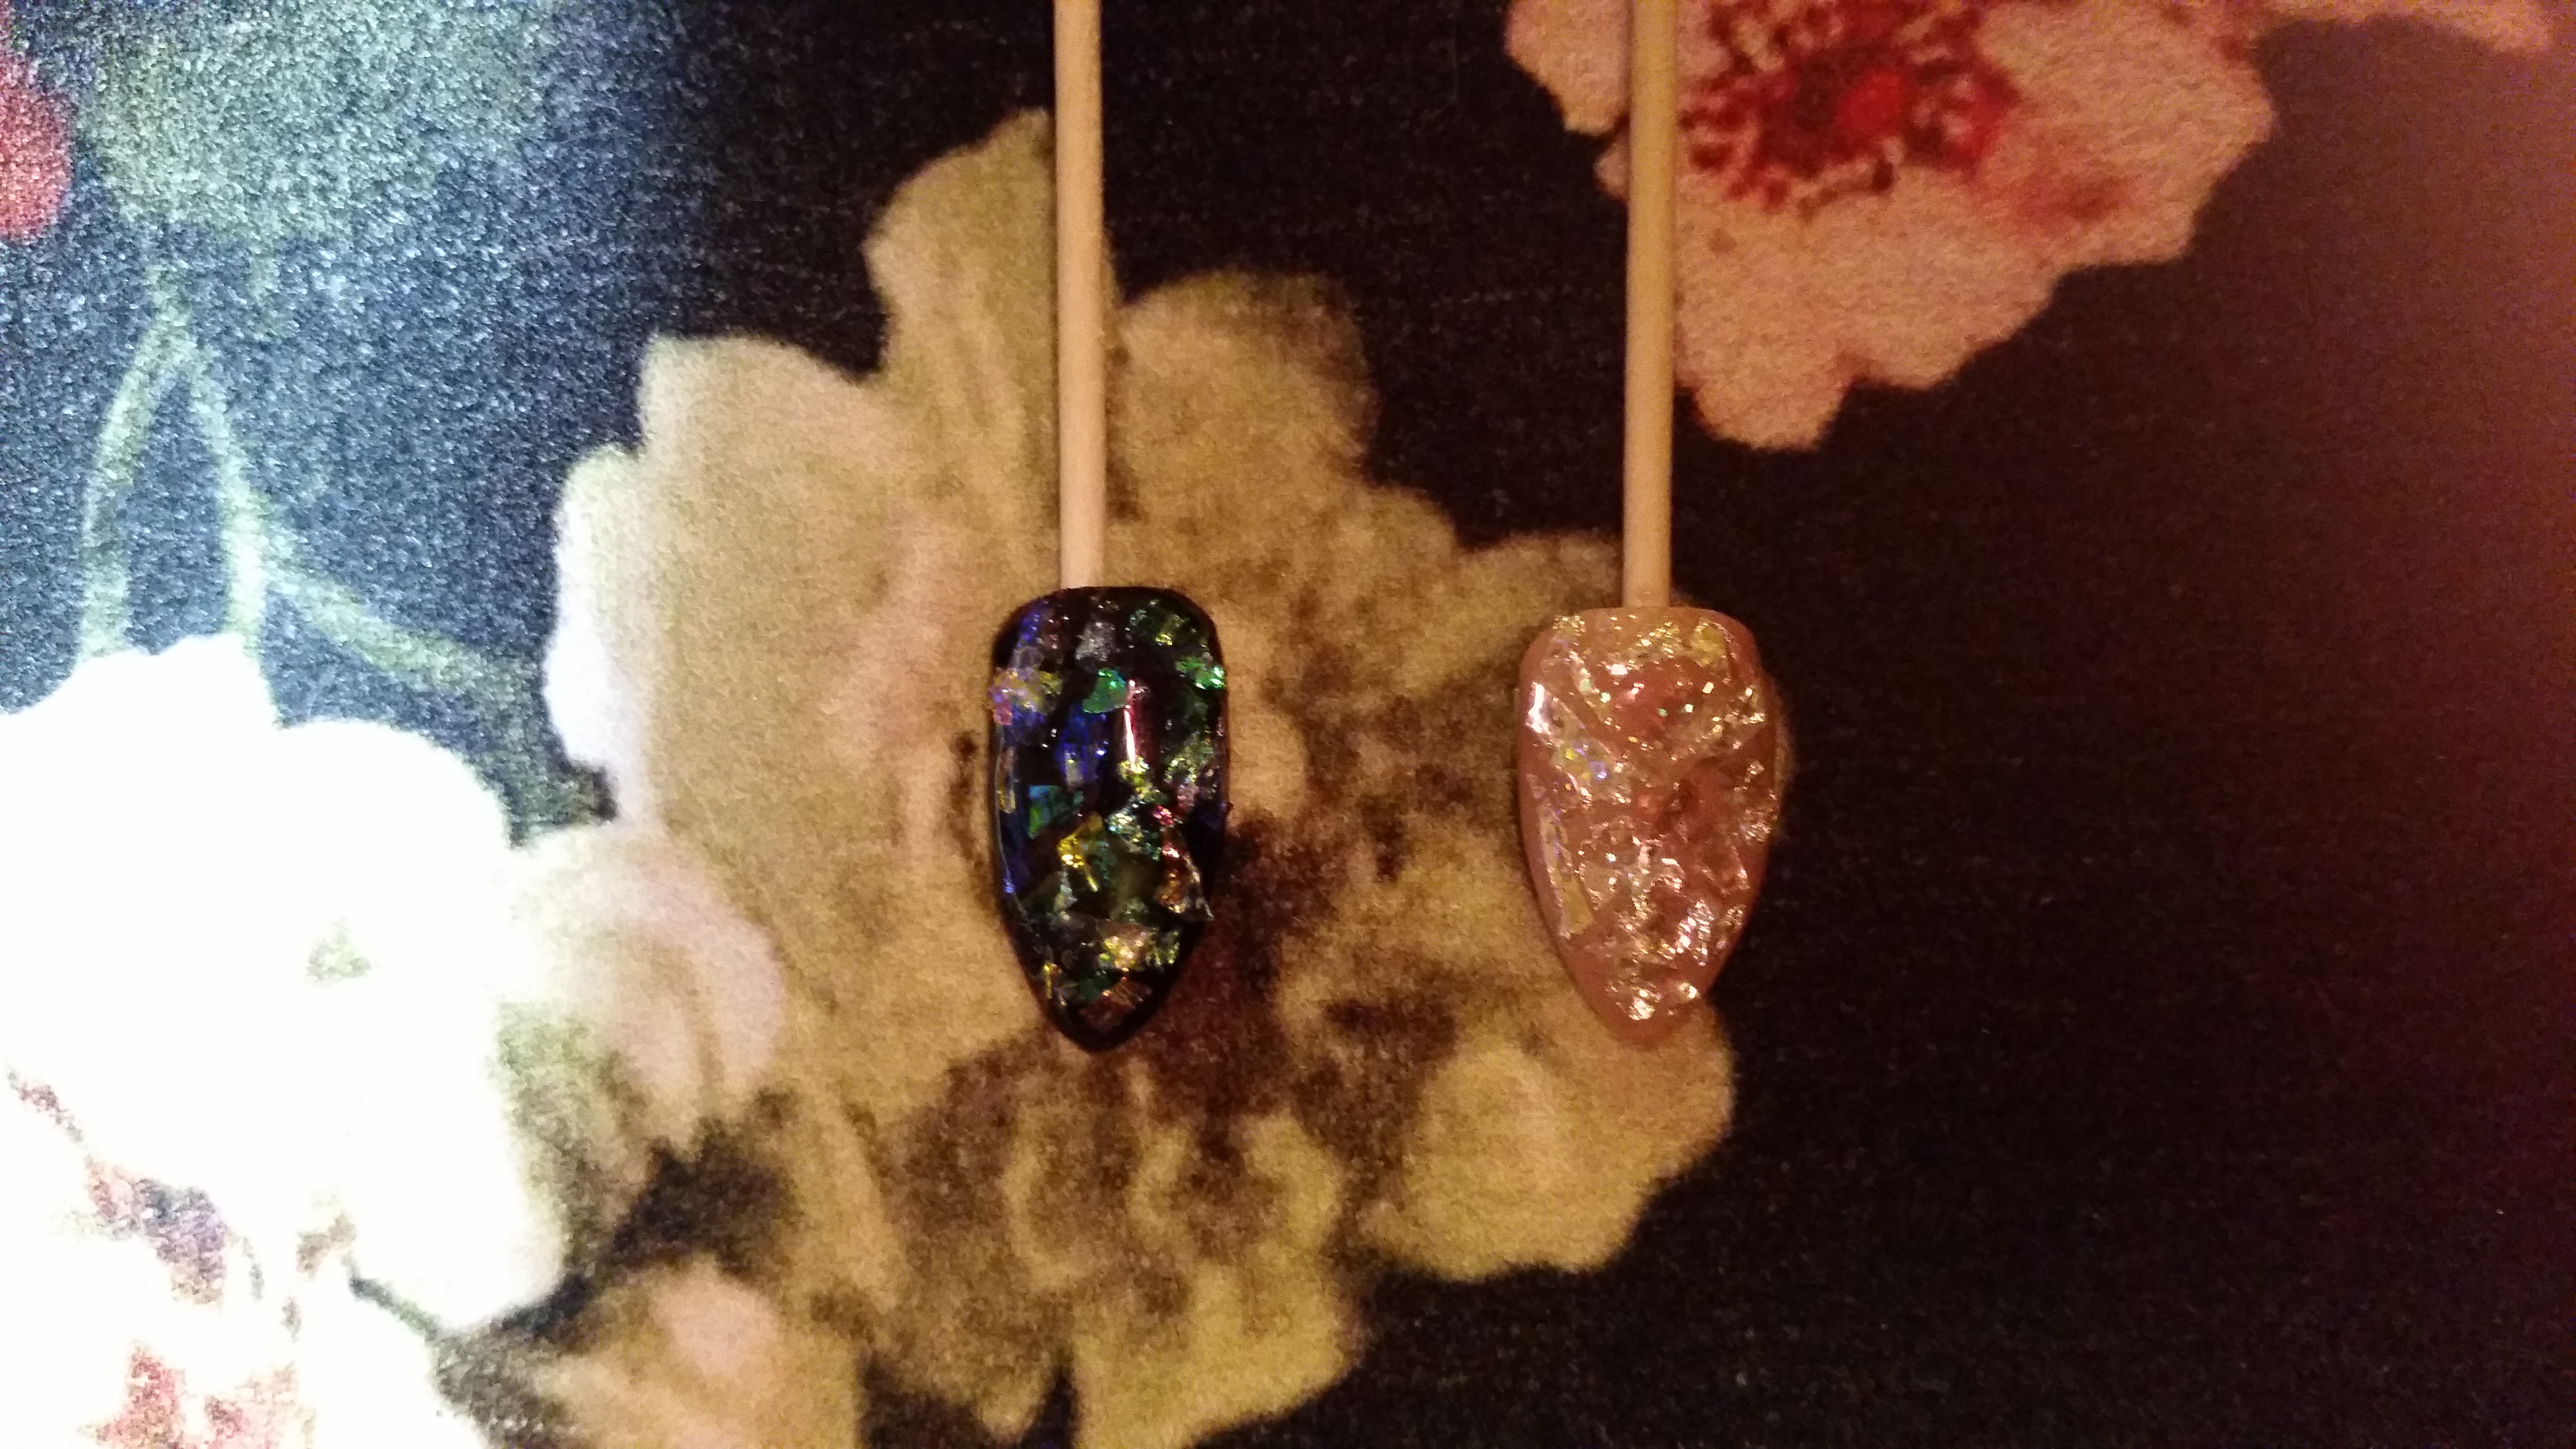
And you’re finished! There are plenty of different products you can use to get the shattered glass effect, you can even cut up nail foil transfers or even kitchen foil, and place them onto the gel. Personally I love the darker nail, the pink iridescent pieces picked up loads of different colours and looked like a shattered oil slick! As with any creative projects it’s all about playing with products and trying different things! You’ll never know what beautiful finishes you can get if you don’t experiment.
What do you think of this look? Did you try it for yourself? Let me know your thoughts or experiences in the comments below!
[Products: ‘Glass’ Effect pieces (I used shades white and pink) HERE. Black gel nail varnish HERE. Nude gel nail varnish HERE. Clear gel (Base & Top coat) HERE. UV Lamp HERE.]


