

There are dozens of jeon (전) recipes in Korea. Jeon is usually added to a dish’s name to mean that the food is a type of “pancake” such as pajeon (green onion pancakes), but it technically means a food that has been coated in flour, usually egg-wash as well (this recipe doesn’t call for egg), and pan-fried. Here at UKP we’ve written about quite a few jeon recipes, and this time we (we being once again my partner, the actual cook, and I, the taste-tester and writer) tried our hand at a super simple Kimchijeon (김치전, kimchi pancakes) recipe and the results were fun and informative. It was based off Maangchi’s recipe and switched around a little bit. Here’s our step by step of how to make your own kimchi pancakes, and some feedback about how you might want to change it up!
Ingredients:
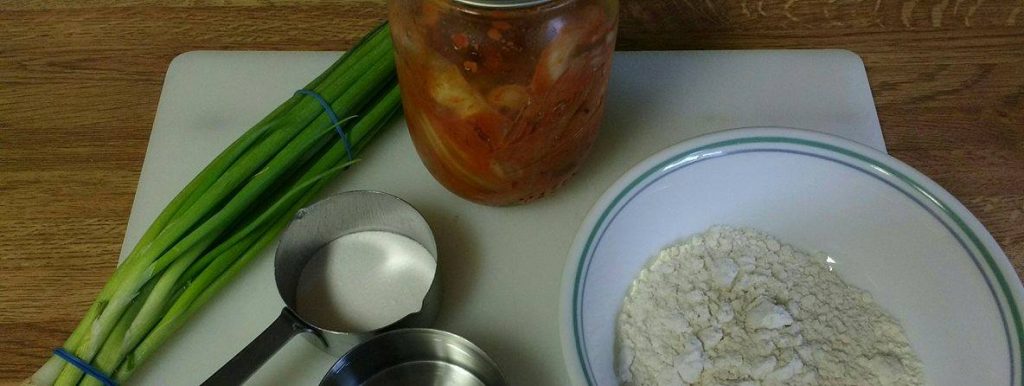
– 1 cup kimchi
– 1/2 cup flour
– 2 tbsp green onion
– 1 tsp sugar
– 3 tbsp kimchi juice
– 1/4 cup water
– salt (to taste)
– oil (of your choice)
Step 1:
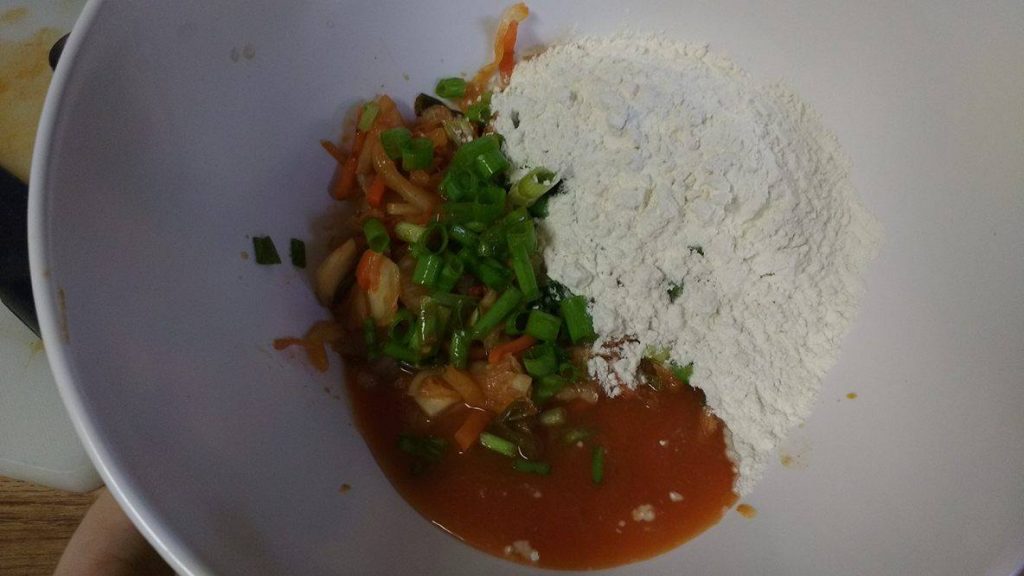
Chop up your kimchi to whatever size you’d like! Ours was already chopped so we only chopped it a little bit. Basically just don’t mince it! Dice your onion, measure everything out, and add into a mixing bowl together.
Step 2:
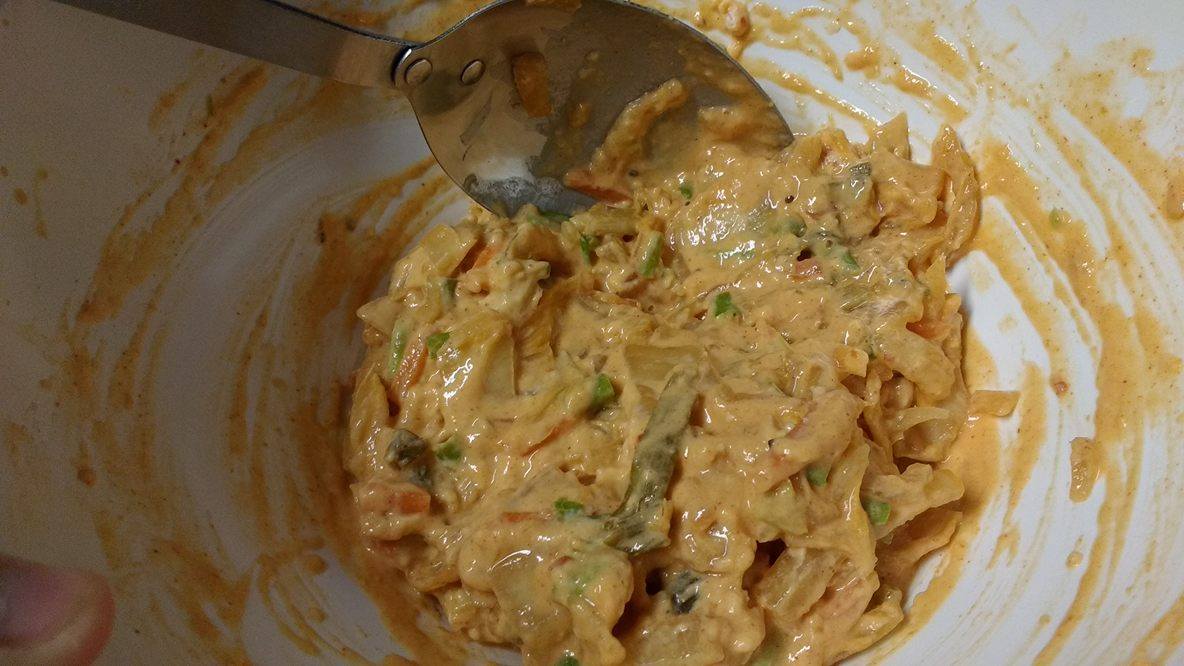
Mix thoroughly! Make sure not to have any flour lumps! You’ll know when it’s mixed enough when it looks like sriracha mayo (if you’ve never had that, here’s what I mean.)
 Step 3:
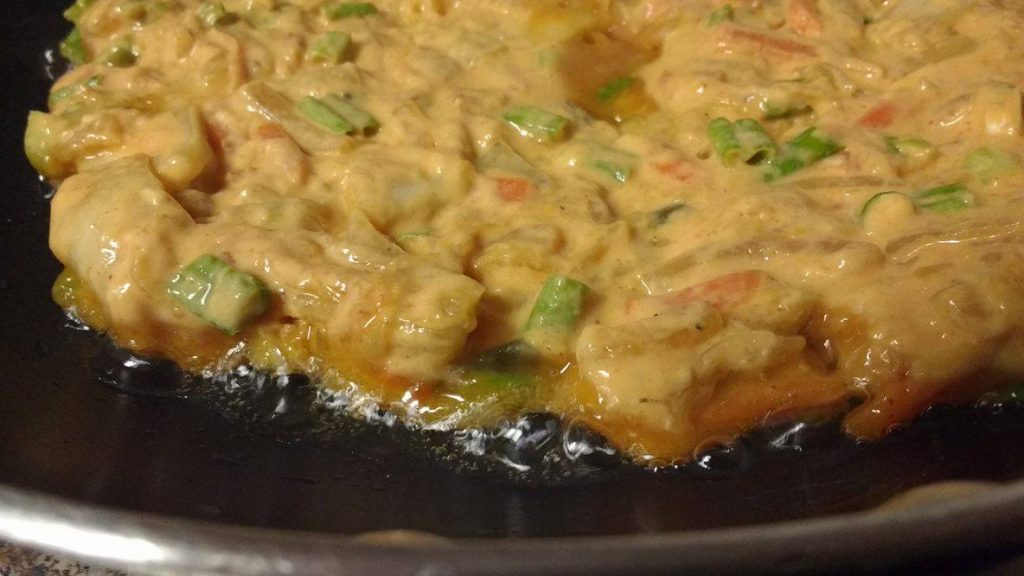
Heat your pan BEFORE adding oil, let your oil heat up until it’s ready (you can check this by putting the tip of a wooden spoon in the oil, and if it bubbles around it, it’s ready!) We used about 5-6 tbsp of oil. A lot of Korean food uses grapeseed oil or vegetable oil, but we don’t have access to the first, and prefer the clean taste of peanut oil.
Step 4:
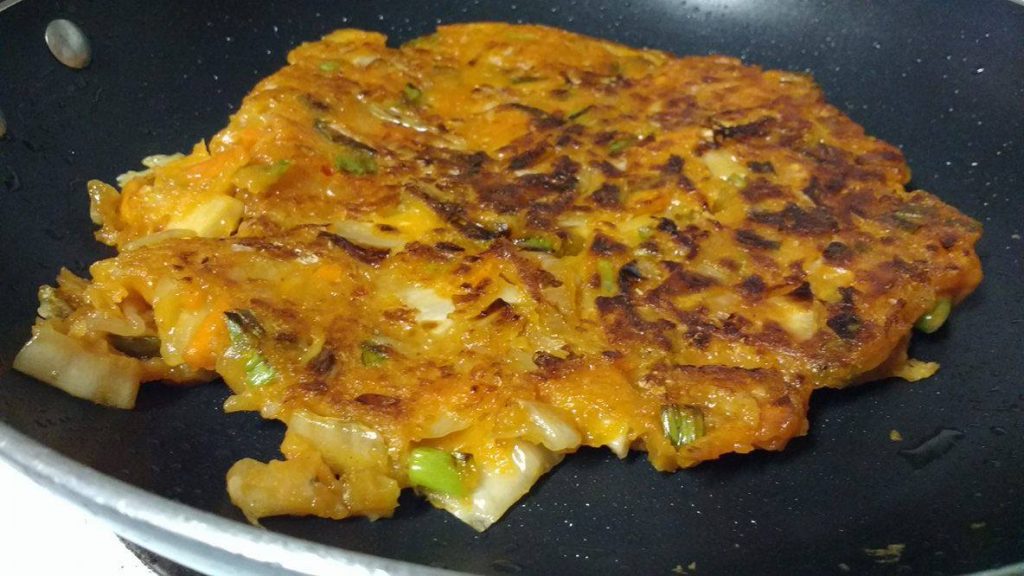
Add your mixture into the frying pan and spread evenly into a pancake shape (basically a lumpy circle.) Fry for 2-3 minutes on medium high to get a nice crisp on the bottom before flipping it.
(You can totally hear the sizzle of the oil, 네? I love that sound. ♡)
Step 5:
Flip! Be careful of the hot oil! And if you try to flip it too early, the pancake will break. Once you have successfully (or unsuccessfully, cooking’s all about tasty trial and error) flipped your kimichijeon, crisp up your other side for about 2 minutes. You can flip it over again if you want, but it’s really up to you!
Step 6:
Plate it up! You can cut it up into bite sized pieces or leave it as a whole if you want to.
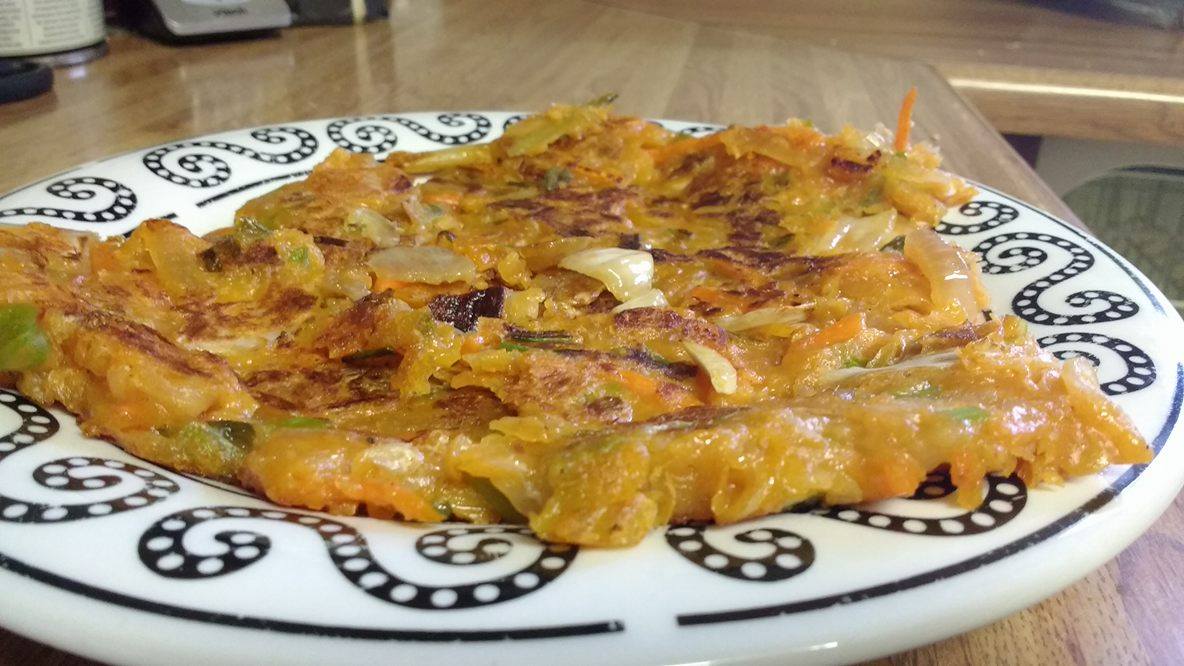
You can see we had a bit of trouble on our second flip, but there you have it! Kimchijeon!
Changes you might want to make to your recipe:
We found it needed a bit more salt. This can depend on the kimchi you have. We have homemade kimchi (drop a comment if you want an article about the recipe!) that had a bit more carrot than normal, so ours was inclined to be sweeter and needing more salt.
It wasn’t as crispy as we craved, so we’re definitely going to add more flour when we make it next!
We also found out serendipitously that it pairs really well with black tea with lemon! We also think it would be a delicious side dish to beef bulgogi (Korean grilled meat.)
Have you had Kimchijeon or do you plan on trying the recipe for yourself? Let us know all about it in the comments below or on our UKP Facebook or Twitter!
Author’s Note:
My partner and I love sharing our cheap and fun Korean food recipes with you all, and one of those recipes was recently in UKP’s Summer E-Magazine! Check it out here and share it with your friends!


