

Everyone knows and loves tteokbokki (떡볶이), right? The sweet and spicy rice cakes that are one of Korea’s many shining glories of street food, Most of you probably also love ramen/ramyeon (라면)? Well rabokki is the hybrid of those two dishes and we had an adventure making it ourselves, so hopefully you can now too! We used Maangchi’s recipe for tteok (떡) and our own recipe for the sauce. This is only enough for one portion, so adjust as needed for more people!
Ingredients for tteok (rice cakes):
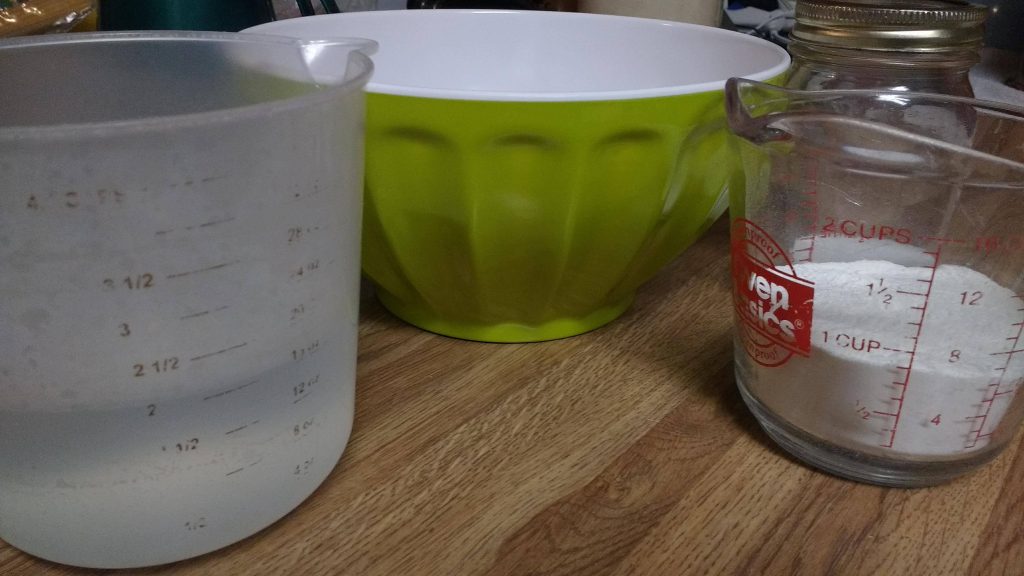
– 3/4 cup of rice flour
– 1 half tsp salt
– 1/5 cup boiling water
– 1 half tsp sesame oil
Ingredients for sauce:
– 1 & 1/2 cups stock (dashi or substitute stock like chicken or vegetable)
– 2 tbsp gochujang (red pepper paste)
– 1/2 tbsp miso/soybean paste (or more depending on your preference)
– 1 tbsp soy sauce
– 2 tsp sugar
– (optionally) 1/2 tsp garlic
Optional toppings:
– Boiled egg
– Green onion
– Anything else your little heart desires.
Step 1:
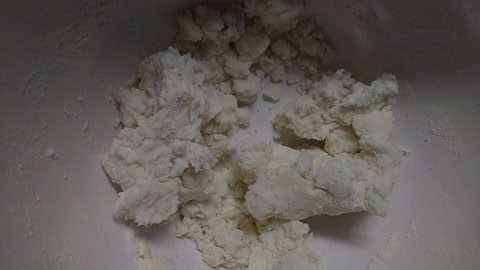
Make your tteok! Combine rice four and salt, then add in your water, little by little, until you get the right texture. You might need more or less water than us. This is a little tricky but as long as it looks like pictures below (or Maangchi’s) then you’ll have yummy tteok.
Step 2:
Cook the mixture! We microwaved it. Cover it in a bowl with a spot for steam to release and cook for two minutes. Take it out, stir it, cover it back up, and cook it for two more minutes. Ours got a little overcooked because our microwave is strong, so after the first round, check it and adjust your time. You can tell it’s getting overcooked if any of the mixture looks hardened. (You can just cut them off later, don’t worry.)
Step 3:
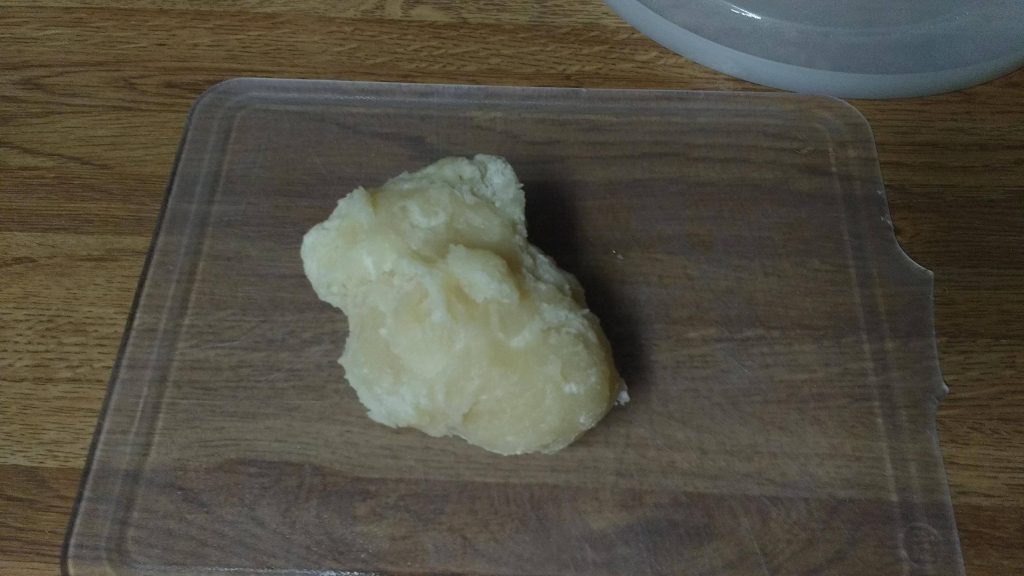
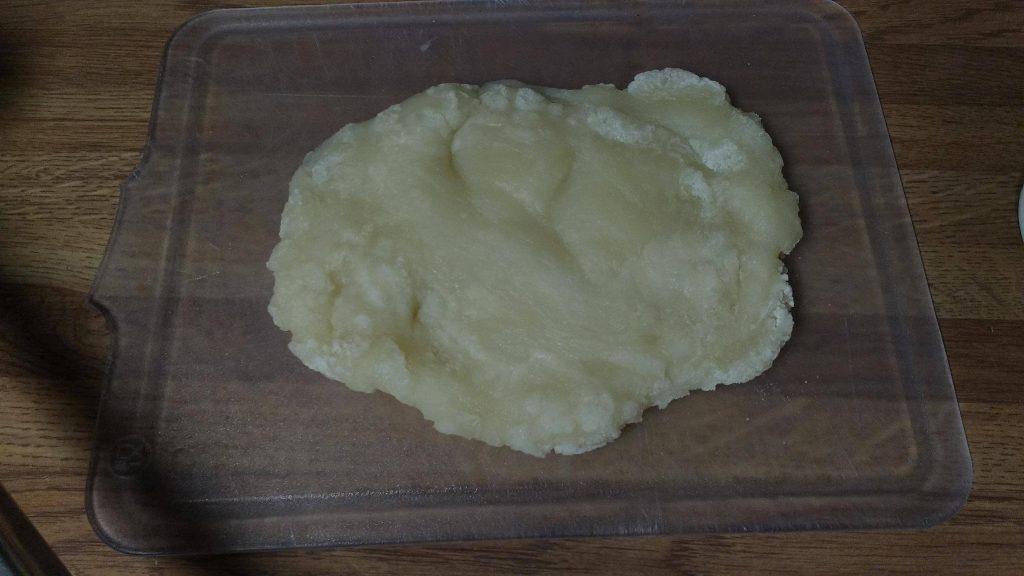
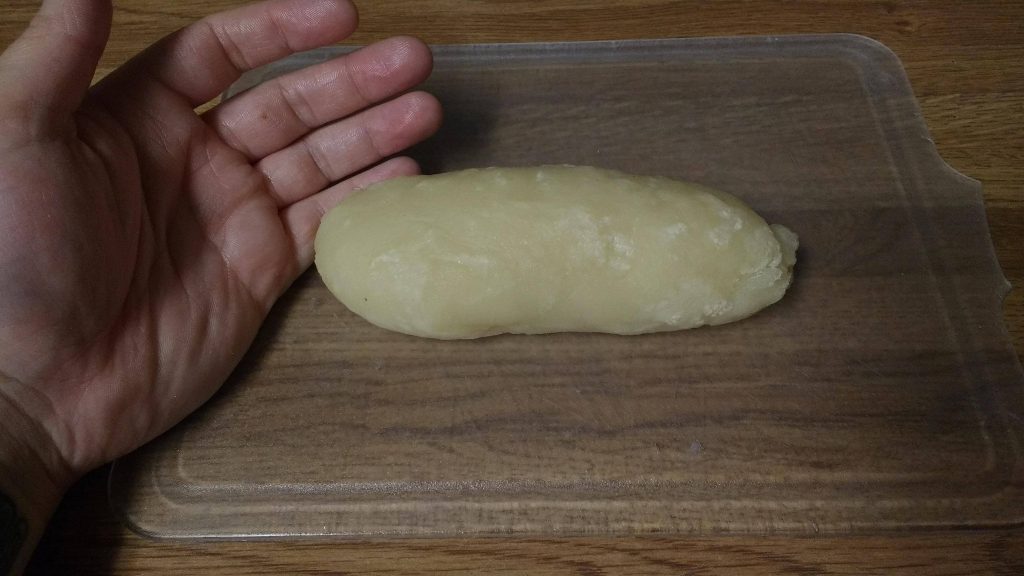
Once it’s done, pick the surface you’re going to pound it out on, and put down some sesame oil. Then you pound it out! It should take about five minutes of pounding to make it smooth and elastic. You’ll want to use a pestle, but if you don’t have that (like us), the flat side of a meat tenderizer should work just fine!
Step 4:
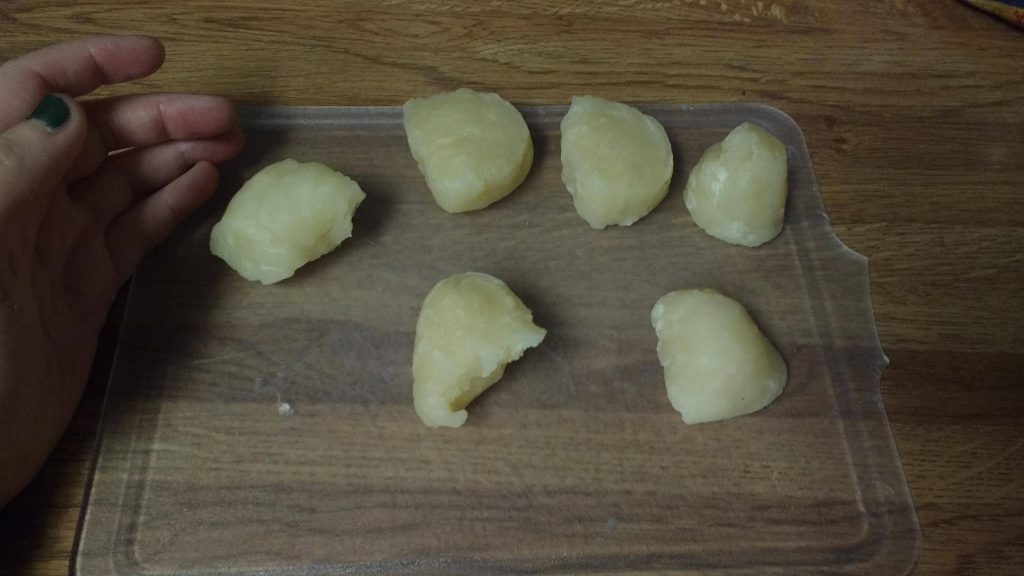
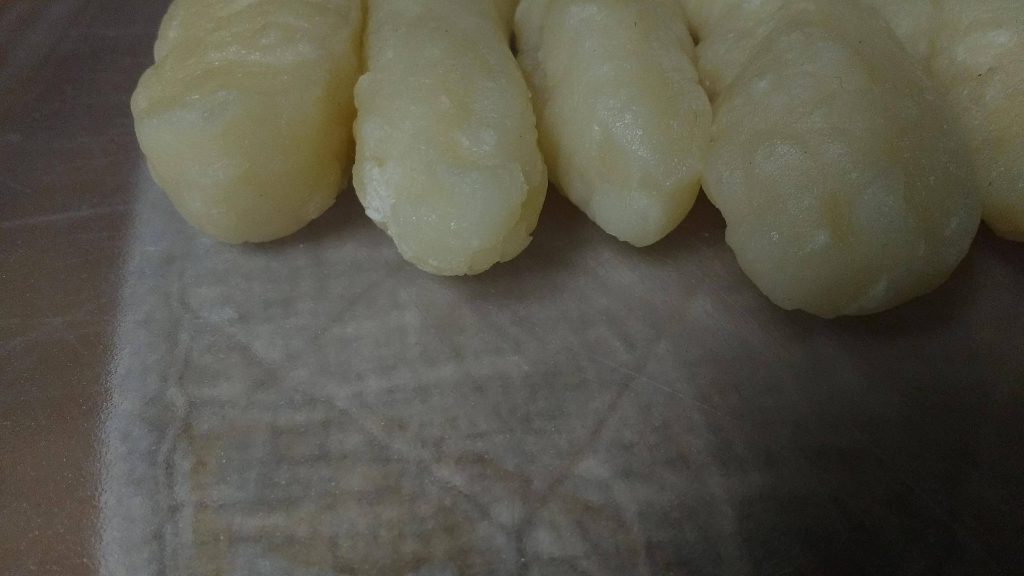
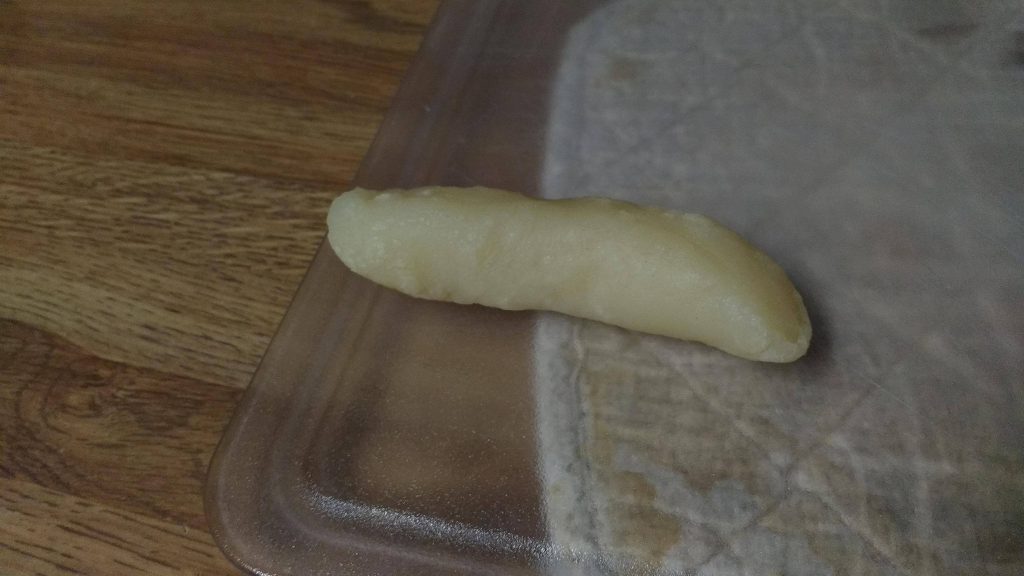
Fold and roll up the mixture into one long cylinder (which will vary in length depending on how much you make) and cut that cylinder into 6-8 equal pieces. They’ll be a bit messy so roll the small pieces to be as cylindrical as you can get them.
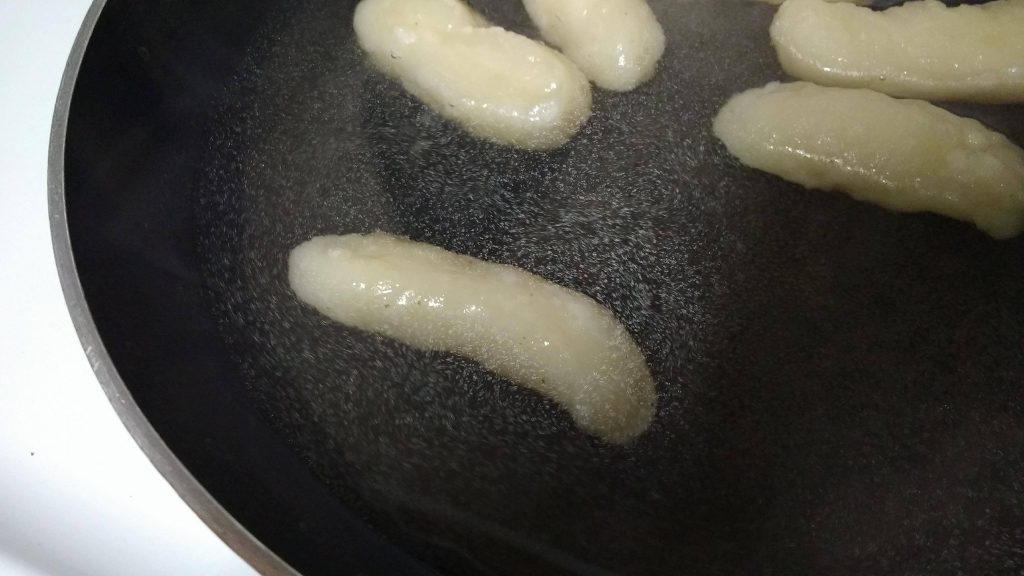
Step 5:
Add your dashi or other stock to a pan on medium-high heat. Once it barely starts to boil, add your tteok! While those are cooking, you can make your sauce!
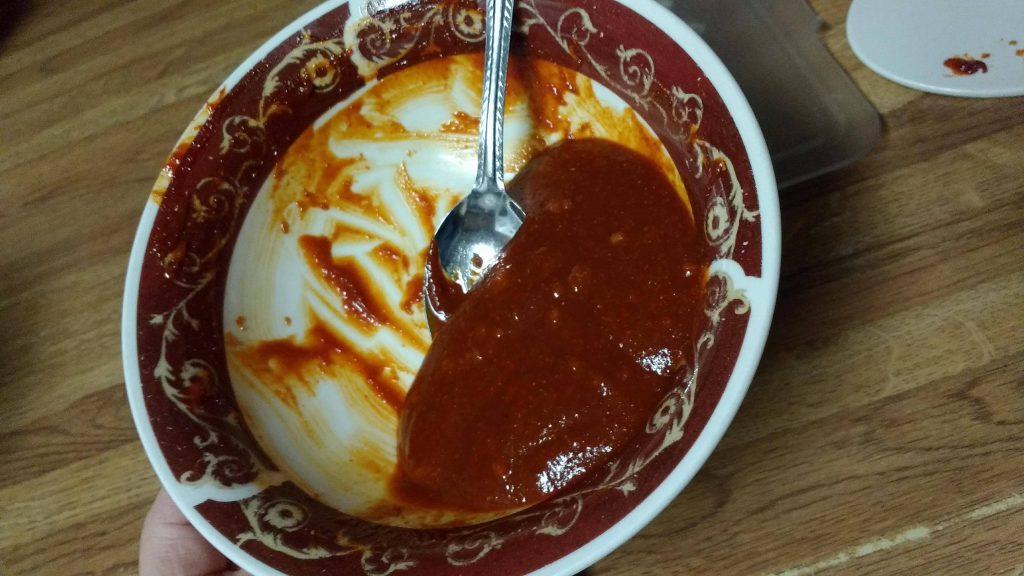
Step 6:
In a bowl, add your gochujang, soybean paste, soy sauce, sugar, and other optional flavors if you chose them. Mix them thoroughly.
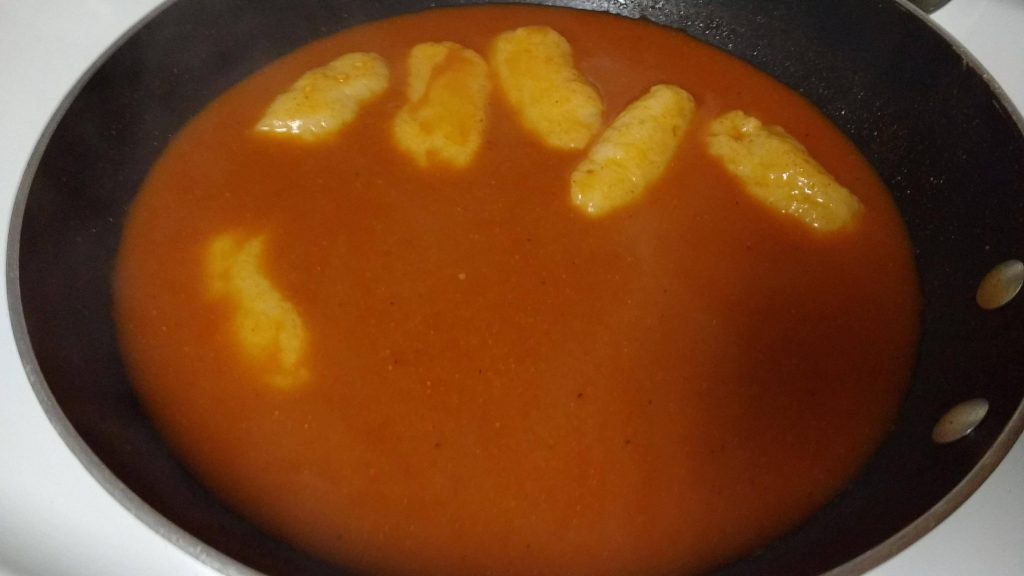
Step 7:
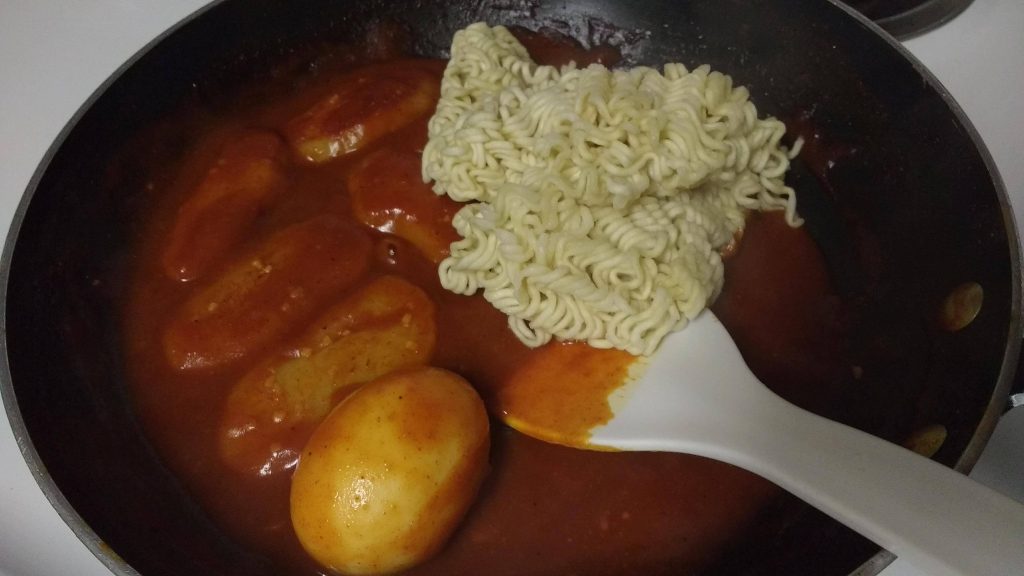
Add the sauce to your cooking tteok and broth! Note: If you want your ramen to cook with your broth instead of separately, you add it here for the remainder of the cooking time.

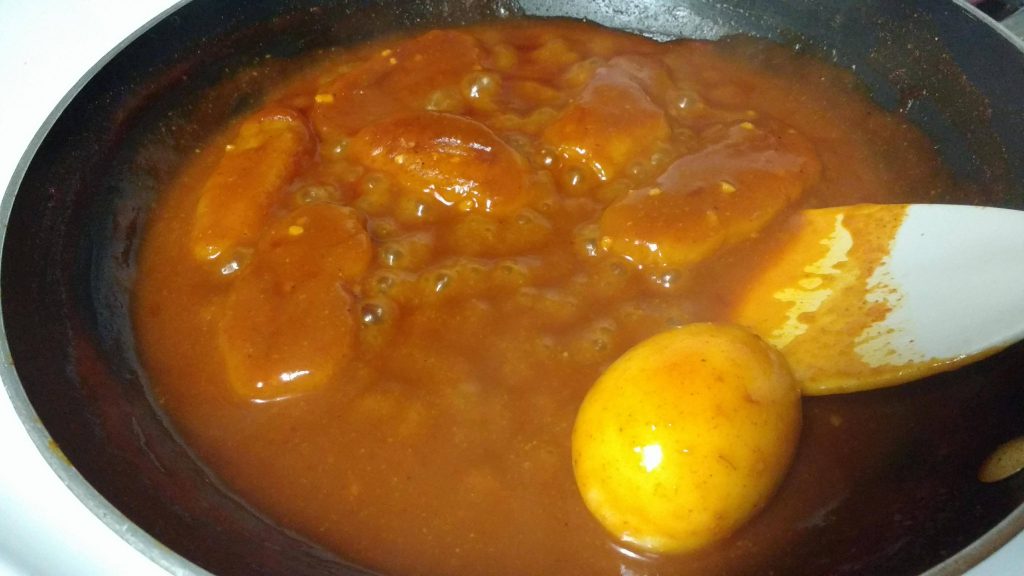
Step 8:
Let your sauce boil until it gets glossy and thick. There are lots of different extras that people add into their tteokbokki such as fish cakes (which you would add in step 7), green onions, boiled eggs, cheese, meat, and so many more! We added in a boiled egg because we love it, and it tends to go with both classic tteokbokki and classic ramen.
Step 9:
If you cooked your ramen separately like we did (because the cook was picky about the noodles), add it now!
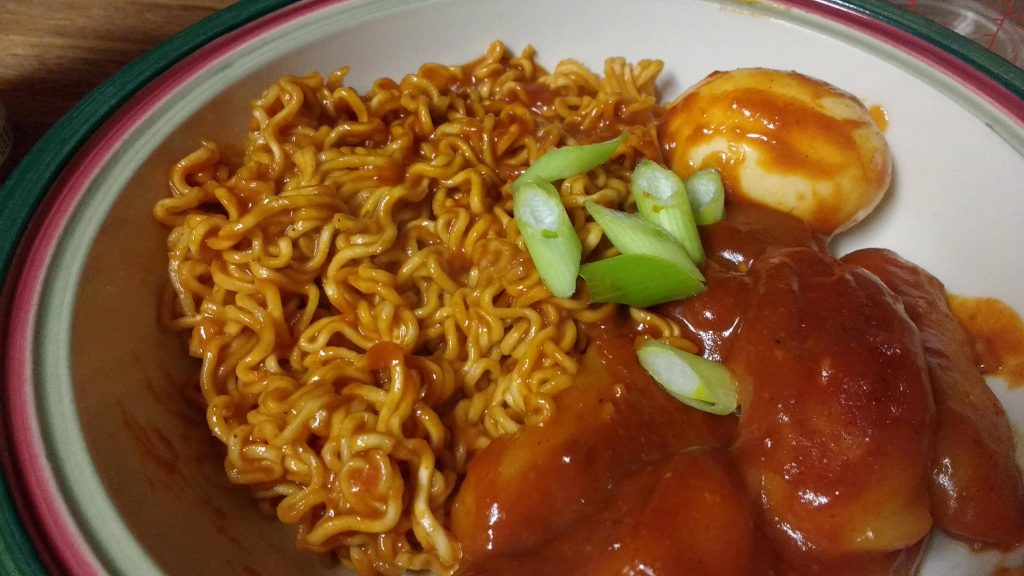
Step 10:
We eat with our eyes first, right? Step ten would be making it pretty! We added the common green onion as a topping and it looks just as lovely as it tastes. (Tteokkbokki never really looks lovely per se, but it looks delicious.)
Changes you might want to make to your recipe:
Let’s be honest, our tteok were kinda shabby. But that’s okay! They’ll still taste good, and you can work on the texture when you make them again. If you want to avoid that (like us) we recommend buying pre-made tteok from your local Asian market or online.
The sauce was too spicy for us but that can be easily remedied by lowering the amount of gochujang or replacing it with soybean paste.
There are never too many toppings! We wanted more boiled egg and craved for some fish cakes (which we didn’t have.) Cook more instead of less, you’ll thank yourself.
There are so many different recipes for tteokbokki to choose from, and so many that you can build on your own. Just use what you think you want and have fun with it!
___________________________________________________________________
Have you tried rabokki? Are you going to try out this recipe?
Let us know in the comments below, or on our UKP Facebook or Twitter.
We’d love to hear about your experience with it!


